Jotform is a simple yet powerful form builder you can use for multiple purposes, be it a survey form, lead submission form, or product feedback form. It’s also a great way to collect leads or consumers’ interest in your products and services without a website. Unlike many other contact form builders that require a website hosting platform like WordPress, Jotform helps you create standalone forms. But that doesn’t mean Jotform is only useful to build standalone forms. Jotform forms can also be easily embedded into WordPress sites, meaning you can use Jotform to create excellent forms on your website too.
While Jotform makes it easy for you to collect leads and submissions online, you’ll likely need some other tool to access and manage your leads whether you’re looking to contact your leads quickly or perform an analysis on the response data.
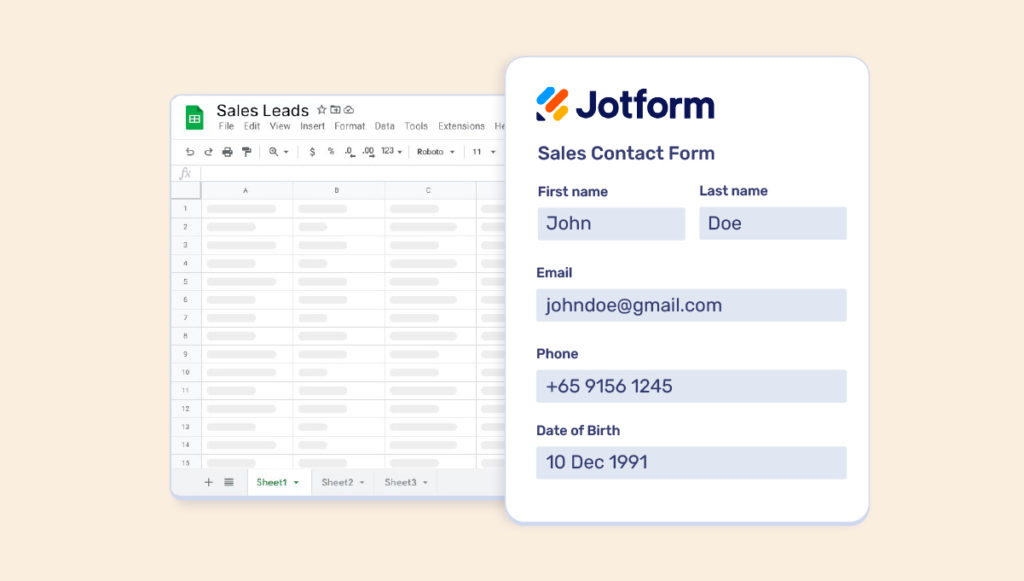
You probably know of Google Sheets and its potential to be a great tool to manage your Jotform leads. The question is, what’s the best way to import and manage Jotform leads? Or, if you’re comfortable using the good old excel, you may need some ideas for Jotform excel integration. In this article, we guide you through how to import leads from Jotform to Google Sheets and what are better alternatives to manage your sales process.
Table of Contents:
How to access and download leads from Jotform
How to send/sync leads from Jotform to Google Sheets
Limitations of using Google Sheets to manage leads
How to get lead alerts for Jotform submissions
How to receive and contact Jotform leads from your phone
Conclusion
How to access and download leads from Jotform
Accessing and downloading submissions/leads from Jotform is easy and can be done directly from the Jotform admin panel (or admin dashboard). Once you sign up with Jotform, you have a user-friendly dashboard that helps you create forms for various purposes. Not only that, the dashboard allows you easy navigation to access and download leads.
How to view Jotform leads
Jotform records the data of every field and form you build. In your Jotform account, you have a Data page dedicated to storing all your form information. You can easily access it from your Dashboard. Here’s how to view leads on Jotform:
- On the right corner of your Dashboard, click More
- You’ll now see three options: Publish, Data, and Form
- Click Data.
Now, you’ll be able to view every single detail of your fields and submissions.
How to download Jotform leads
You can download Jotform leads by accessing My Forms on the admin panel and choosing your preferred download format. Here’s the process:
- Go to My Forms.
- Select the form with the submissions you want to download
- Click Submissions in the top toolbar
- Click Download All (on the top right side of Jotform Tables)
- Choose the file format to begin the download process.
How to send/sync leads from Jotform to Google Sheets
Google Sheets not only helps you manage your clients’ data more efficiently, but it also allows you to build a system to track and guide your customer relationship. However, manually entering the details of your Jotform leads can be tedious and may waste your time and effort. There are connector tools that are specifically built to transfer data from one platform to another, but they come with extra expenses and steps.
Luckily, Jotform has built-in support to send leads to Google Sheets automatically, unlike many other forms that need Zapier or other similar connector tools to connect with Google Sheets. You can set up Google Sheets integration from the Jotform dashboard easily. Here’s a step-by-step process:
- Open Settings in the Form Builder.
- Click Integrations.
- Search and select the Google Sheets integration.
- Click Authenticate.
- If you have already authenticated your account, select your Google account from the dropdown.
Once you’ve connected your account, you can choose one of two options:
- Create a new spreadsheet
- Use an existing sheet – (where you select a spreadsheet from your Google account and input the worksheet name).
- After choosing the appropriate option, select the form fields you want to send to Google Sheets.
Ticking on Select All ensures every form field you add to your form will automatically create a new column in Google Sheets.
- Click Save to complete the setup.
Now, when you receive submissions on your form, you’ll automatically receive them on your Google Sheets.
Limitations of using Google Sheets to manage leads
Google Sheets is a great data management and analytics tool, but if you need a system to streamline your sales process then perhaps it won’t be your go-to software. It’s a basic CRM that allows you to store data. But it doesn’t help you automate certain actions to save your time and effort. Here are some limitations of Google Sheets:
- Not the best tool to automate a sales process: Google Sheets is an excellent tool for analytics, but it’s not as good for running an actual sales process that involves contacting and interacting with leads. Tracking clients and interactions through Google Sheets means you’ll need to manually enter and update each step, which is not an efficient choice.
- No instant alerts of new leads: Google Sheets may not give instant alerts of new leads, which is important if you want to contact them quickly.
- Not mobile-friendly: Most of your calls and messaging happen through your mobile phones if you’re interacting with your leads. Jumping back and forth on different devices is not an efficient way to do it. Therefore, you’ll want all the useful tools on your smartphone, so you can follow the process easily. But unfortunately, Google Sheets is not as accessible on mobile devices.
- Lots of manual work and messy process: Updating interactions with leads on Google Sheets requires a lot of manual data entry. Moreover, formatting can get really messy if you have multiple calls, messages, or meetings per lead that you want to log. Also, it doesn’t have a built-in system for follow-ups and alerts, so you’ll need to pair it with another reminder or calendar app.
Suggested Read:
How to connect Facebook Lead Ads to Google Sheets
How to Send Leads from WordPress Contact Form 7 to Google Sheets
How to Access and Import WPForms Leads to Google Sheets
How to Connect Google Forms to Google Sheets
How to get lead alerts for Jotform submissions
Instant form submission alerts help you contact your leads fast and streamline your client relationship process. They also help you in instances where fast decision-making is important. Luckily, Jotform allows you to receive lead alerts on your emails. You can add a notification email to each form, new or existing from the settings. Here’s the process:
- Go to Settings
- Click Emails (in the left corner)
- Click Add an email on the next window. You’ll now see two options: 1. Notification email, and 2. Autoresponder email.
- Click Notification email
- Set up your email address and click save.
Additionally, if you’re already using a CRM and wish to receive instant lead notifications there, you can use a connector tool, such as Zapier, to link up Jotform with your CRM. You can set this up under the form builder page Settings, by clicking on integrations and searching for Zapier or similar connector tools. To complete the process, however, you’ll need to have a Zapier account to authorise the next steps.
How to receive and contact Jotform leads from your phone

If interacting with clients through phone calls and messaging apps is crucial to your sales process, it makes a lot of sense to want to have all the data and even notifications on your phone directly. Unfortunately, most CRMs and even Google Sheets are designed to work on desktops, not mobile. Therefore, you need a mobile-first tool that can help you automate your sales process through your phone. One great example of such a tool is Privyr.
With Privyr, you can receive instant Jotform submission alerts on your phone so you can contact your leads through your messaging apps, such as WhatsApp, iMessage, and SMS right away. The mobile-first CRM acts as a bridge between Jotform and your messaging app, so you can easily receive the data and process it without relying on other tools or desktop devices.
You can integrate Privyr with Jotform from the form builder page. Click on Settings and then Integrations where you can search for ‘Webhooks’ and select it. You’ll need to enter your Privyr Jotform Webhook URL into the Add Webhook field, which you can find from your Privy mobile app, via the Account tab > Integrations > Jotform. Just click on Complete Integration and Finish and you’re all set!
Conclusion
Jotform is a cool and easy form builder tool. It helps you create any type of form within minutes. Plus, it offers built-in support to automatically send submissions to your Google Sheets. However, if interacting with clients through phone calls and messaging apps is an important part of your sales process, you’ll want a tool that helps you process Jotform leads from your smartphone without having to navigate through different devices and tools. Unfortunately, Google Sheets can’t be the right choice in such a case. You need a CRM that works on your smartphone.
Privyr is a mobile-first CRM that imports your Jotform submissions to your smartphone and helps you connect with your leads right away through your preferred messaging app. Not only that, it also helps you manage your clients perfectly, including their data and follow-up schedules, all from your smartphone. The best part is that you can use it instantly without any technical knowledge. Try Privyr for free today and manage your sales from the comfort of your smartphone.


